One of my colleagues in the cloud team has written a “VMware Fling” called PXE Manager for vCenter which can be found by clicking here This is one of the best plug-ins to accompany vCenter for a long time (IMHO). This blog article is part 1 of a two part series to explain how to install and configure PXE Manager. In part 2 I will explain how to deploy stateless ESXi (4.1 Update) hosts.
Note: Before beginning the installation please make sure you have read all the pre-requisites required for this application
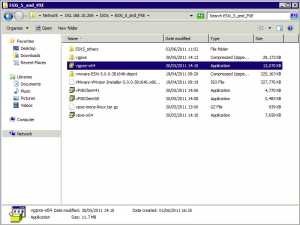
Step1: Run vgpxe-x64.exe to begin the application installation
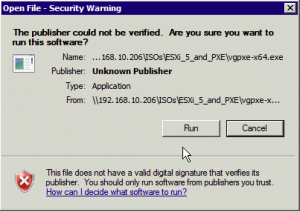
Step2: You will be prompted to run the application
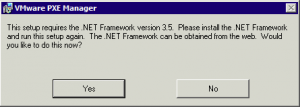
Step3: If you havent already you will be prompted to install .NET Framework version 3.5
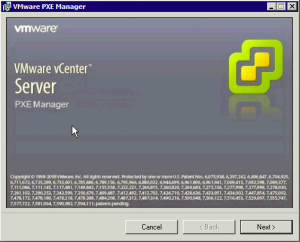
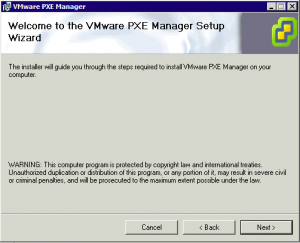
Step4: Once all pre-reqs are in place, click Next to start the installation
Step5: Click Next
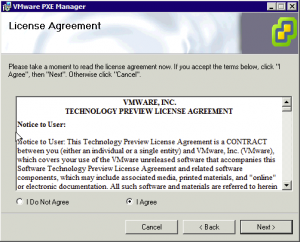
Step6: Confirm the license agreement and click Next
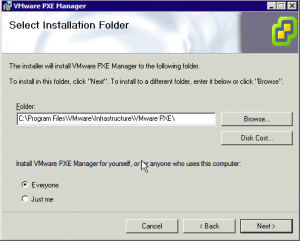
Step7: Select a location to install the application and for which users and click Next
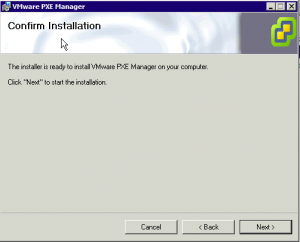
Step8: The Install is ready, click Next
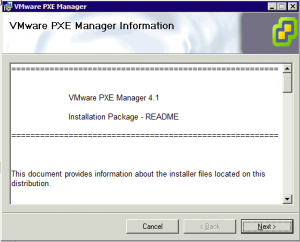
Step9: Confirm the installation package ReadMe and click Next
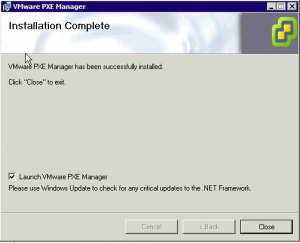
Step10: Installation has completed. Click Close Note: If you want to run the PXE Manager configuration tool, ensure “Launch VMware PXE Manager” checkbox is ticked
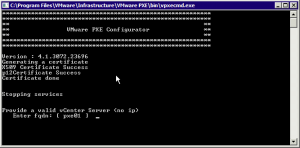
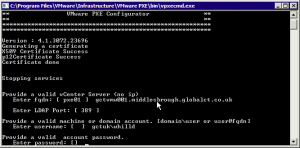
The PXE Manager Configurator will now run
Step11: Enter the FQDN of a valid vCenter that you want to use
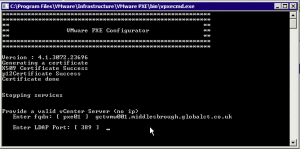
Step12: Confirm the LDAP Port
Note: If vCenter is installed on a domain controller you will need to change the LDAP port to ensure no interferance with Actice Directory
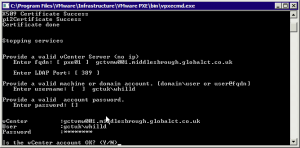
Step13: Enter a valid username and password to connect to the vCenter server
Step14: Confirm that all the vCenter details have been entered correctly
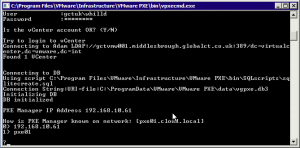
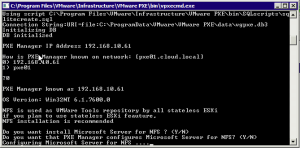
Step15: Confirm how you would like PXE Manager to be known on the network (either by IP address or hostname)
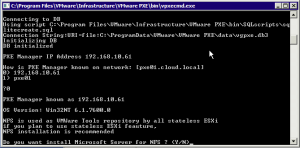
Step16: Confirm if you want to install Microsoft NFS Server
Note: If you intend to deploy stateless hosts you will need to enable NFS Server. PXE Manager configures NFS mounts for the scratch partitions on ESXi. Also note that if installing on Windows 2003 you will need to manually enable Microsoft NFS Server.
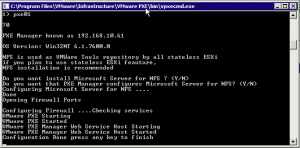
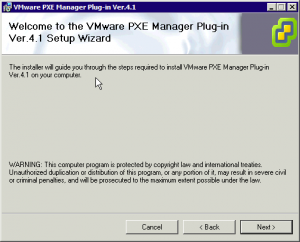
Step17: Confirm that you want PXE Manager to configure NFS Server
Step18: Configuration completes. Press any key to finish
Step18: Open the vSphere client and login to the registered vCenter server
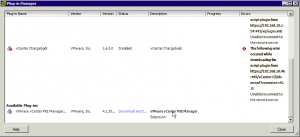
Step19: Select Manage Plug-ins from the Plug-ins menu, locate VMware vCenter PXE Manager and click Download and Install
Step20: The installation will begin, Click Next
Step21: Click Next to continue the installation
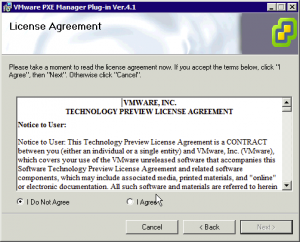
Step22: Select the license agreement and click Next
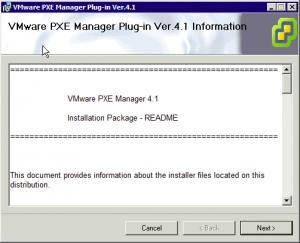
Step23: Confirm the plug-in Readme and click Next
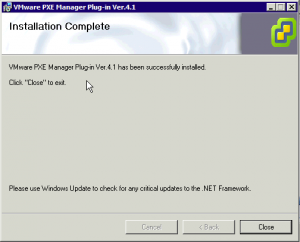
Step24: Installation complete. Click Close
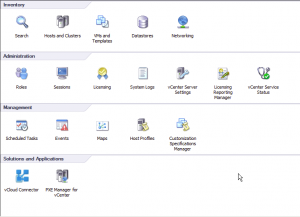
Installation is now complete. You will be able to see the PXE Manager for vCenter plug-in showing on the home screen of the vSphere client

Great article! When will part II be available?
Part two is available as of 14/6 🙂